Table Critique
As part of preparing for our Week 11 table critique, I wanted to go a little beyond the basic browser interaction and try bringing my plotter machine back into the picture. I used the handPose model from ml5.js to track my hand through the webcam and extract the coordinates of the wrist keypoint. Then, using the serial port starter sketch from earlier in the semester, I sent the wrist coordinates through the serial port to the Arduino controlling the plotter. After some messy trial and error—and tweaking the scaling so that the small hand movements would translate nicely onto the big physical plotter surface—I managed to get the machine to follow my wrist’s position in real time. The movement wasn’t exactly smooth; it was pretty wild and unpredictable if I moved my hand too fast. But it was enough for the table crit, and it felt exciting to see the plotter responding live to gestures instead of prewritten instructions.
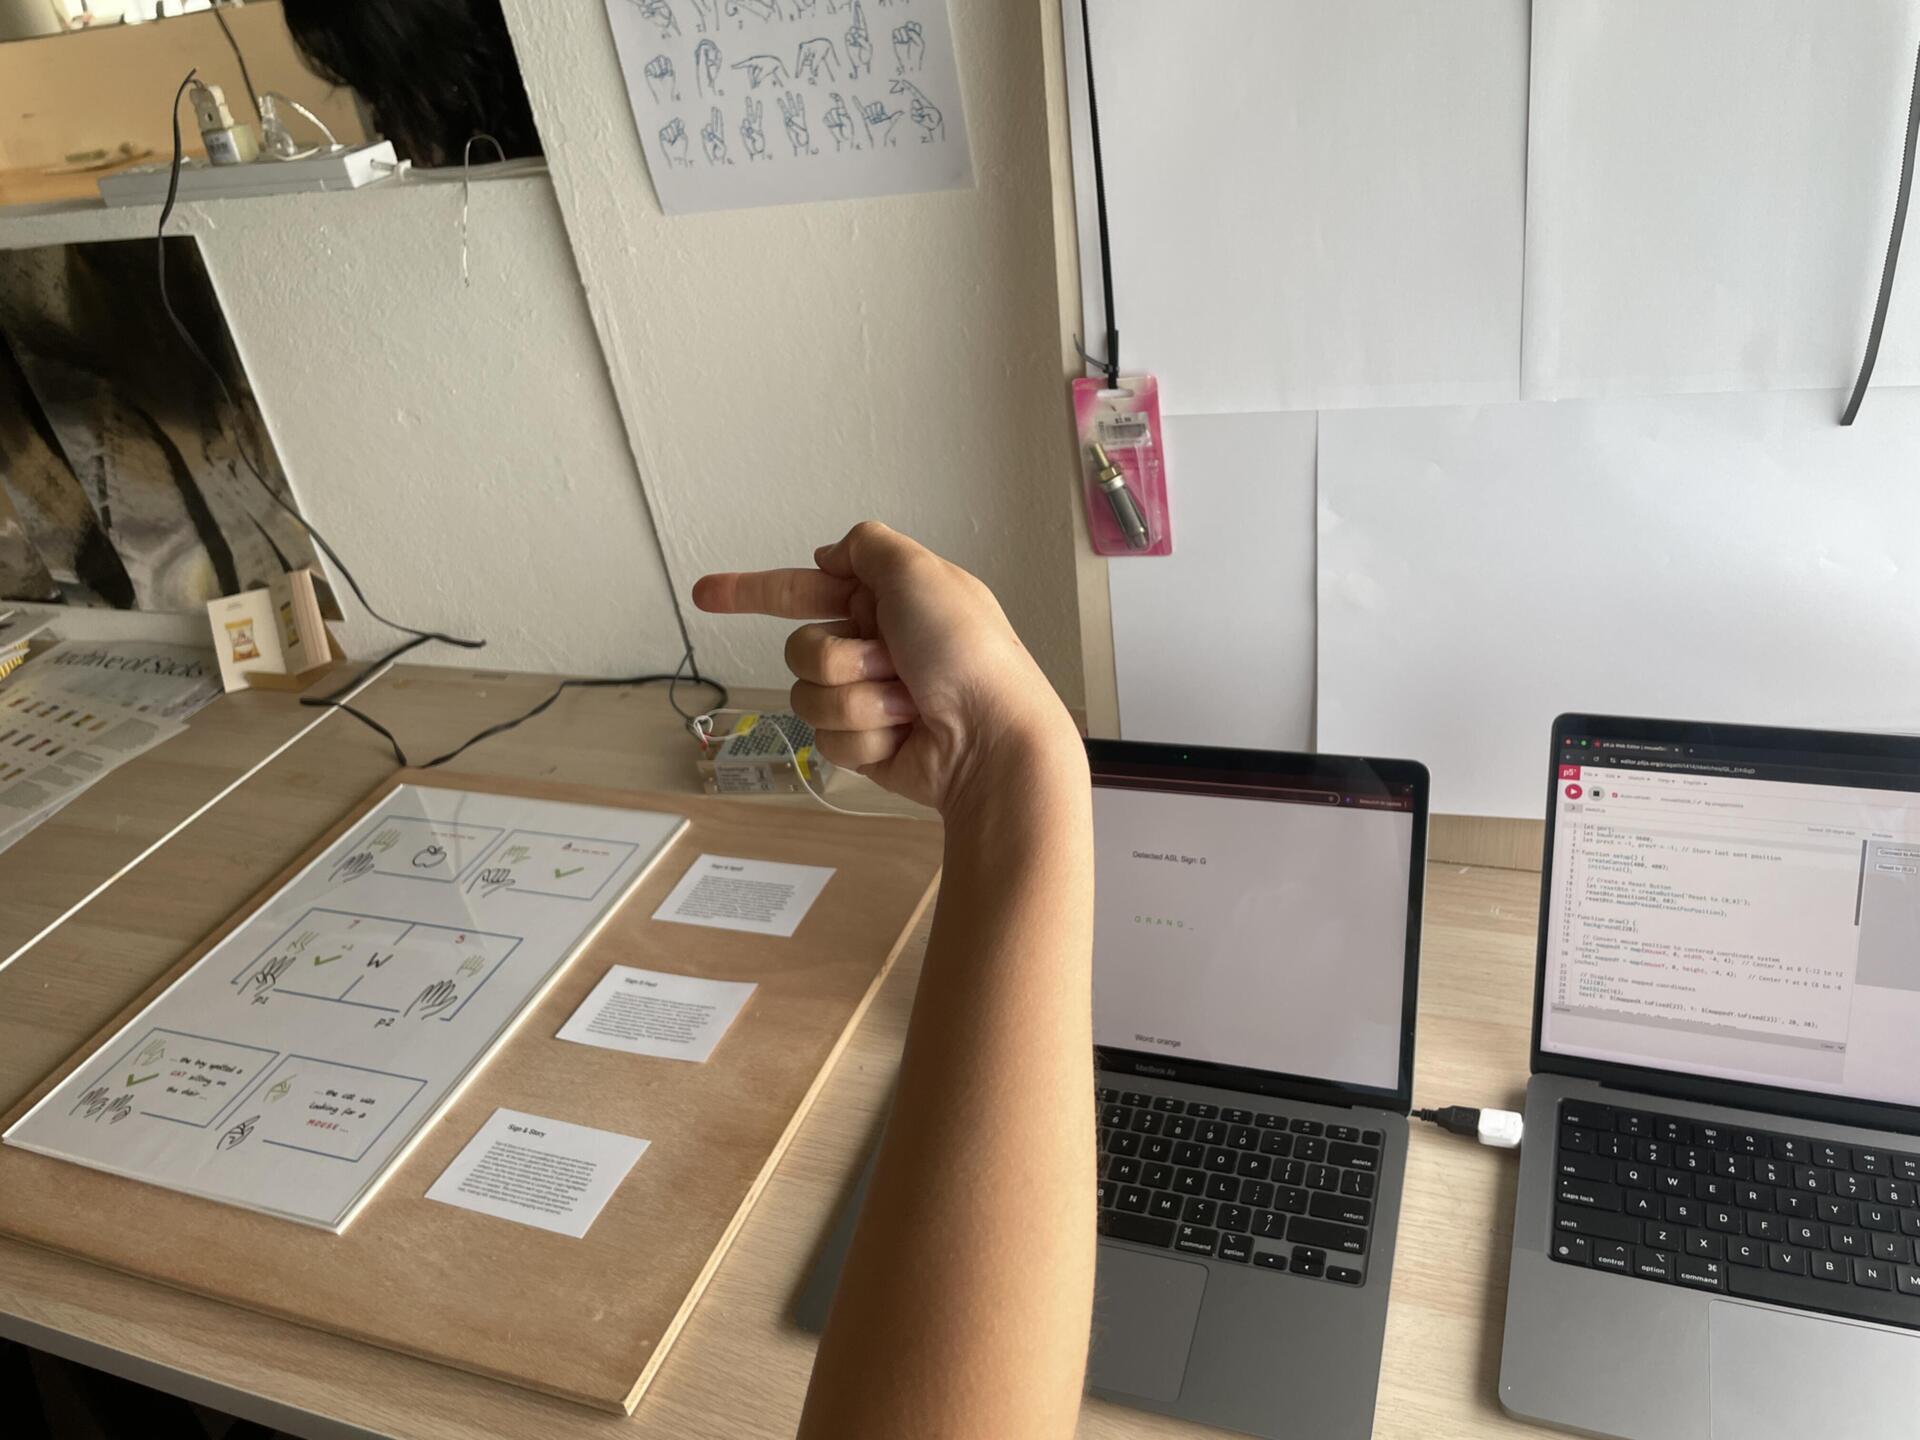
For the critique, I showed both the first working version of the ASL spelling game and the plotter experiment. The feedback I got was really useful: people liked the ambition of combining digital and physical interaction, but pointed out that the game interface still needed a lot more polish—visually and in terms of user flow. There were also reminders to start thinking about the bigger picture: what would the Open Studios setup look like? How would visitors understand what to do when they walked up to the installation? It made me realise that while the experiments were functional enough for now, the next few weeks would have to be about bringing everything together in a way that was accessible, playful, and exhibition-ready.

Preparing for Open Studios
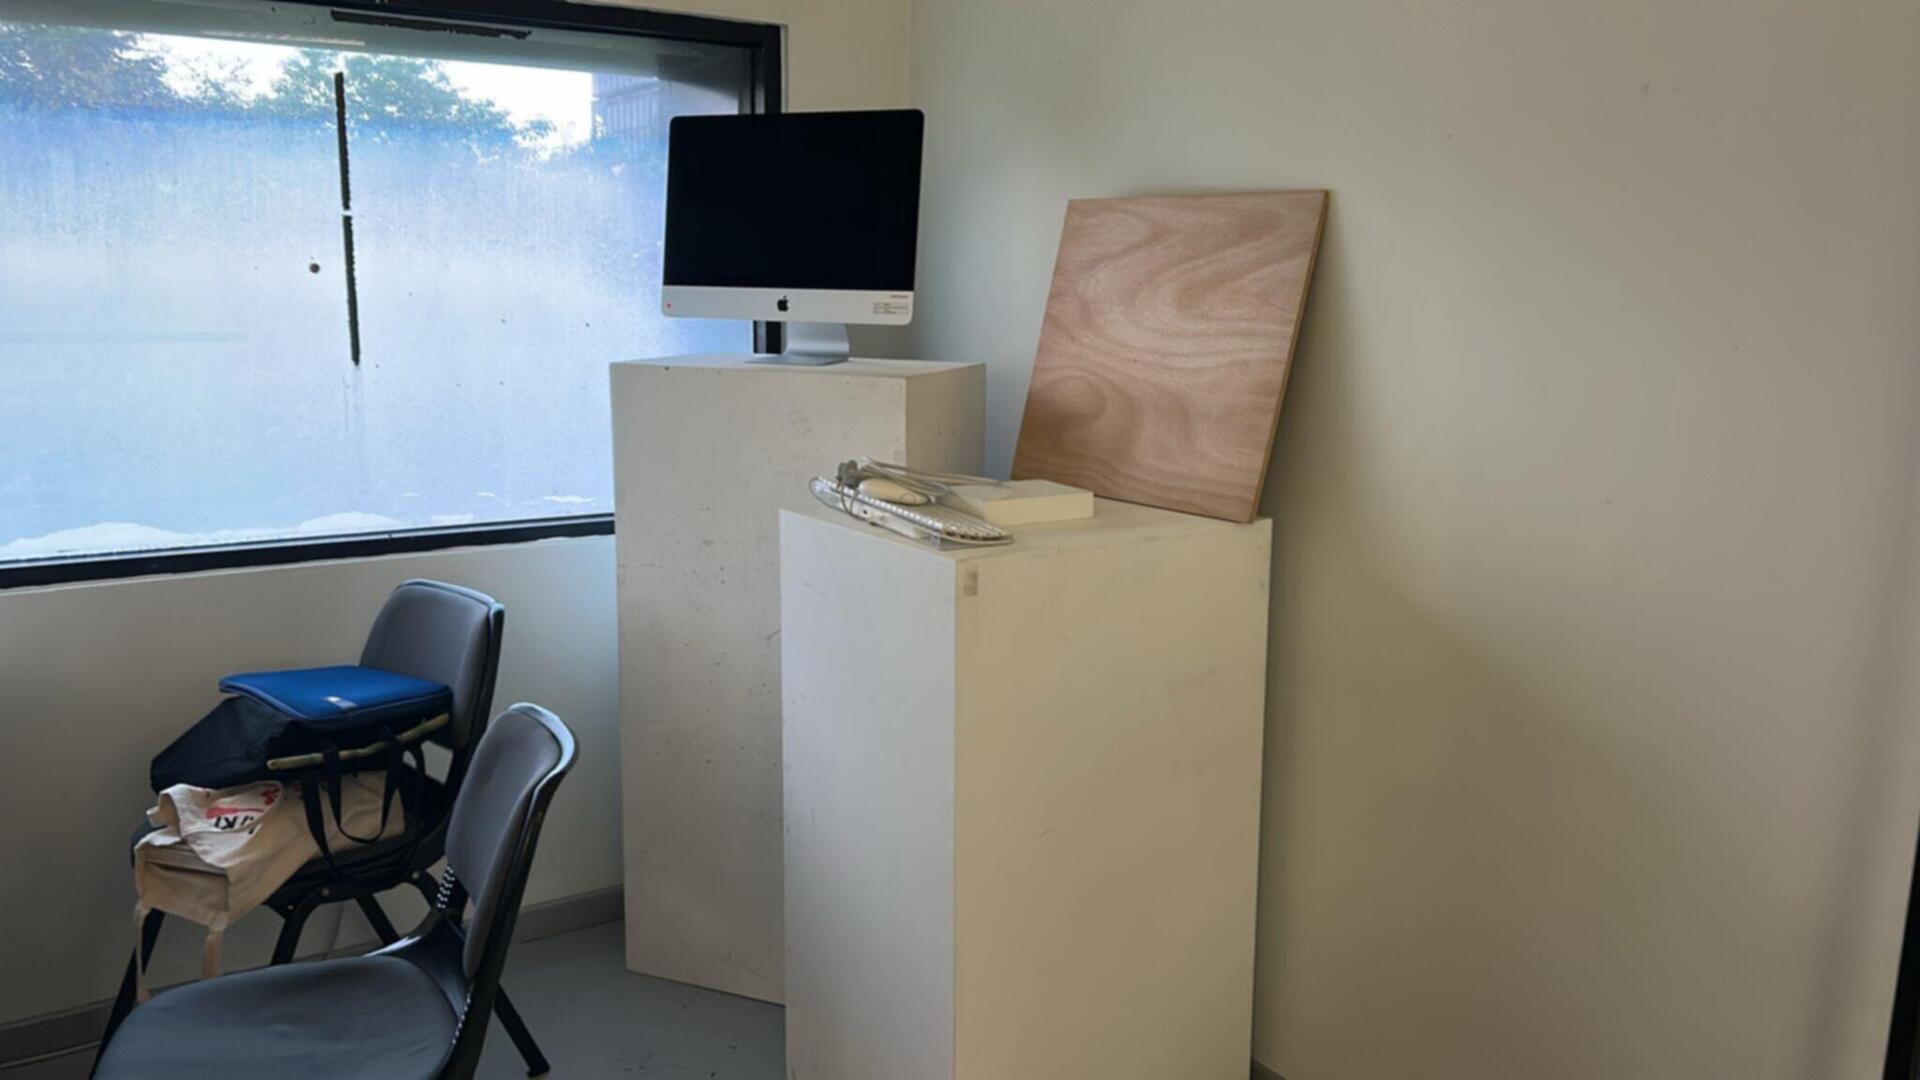
After the table critique, my focus shifted completely toward prepping for Open Studios. I started thinking seriously about how to arrange all the different parts of my project— the ASL game, the plotter machine, and the earlier gesture experiments—so that they would make sense together within my small desk space. I decided to move the shelves out of the way to open up the area and create a cleaner, more open setup. I also borrowed two pedestals from the school to use as display stands: one for the iMac that would run the ASL game, and the other for an ipad for the visual orchestra experiment. I even managed to borrow a friend’s ipad to have a looping video of older experiments. To make everything feel cohesive, I also borrowed sheets of clear acrylic and wood panels from andreas and used them to tidy up the surfaces and create a kind of structured frame around the messy tech components.
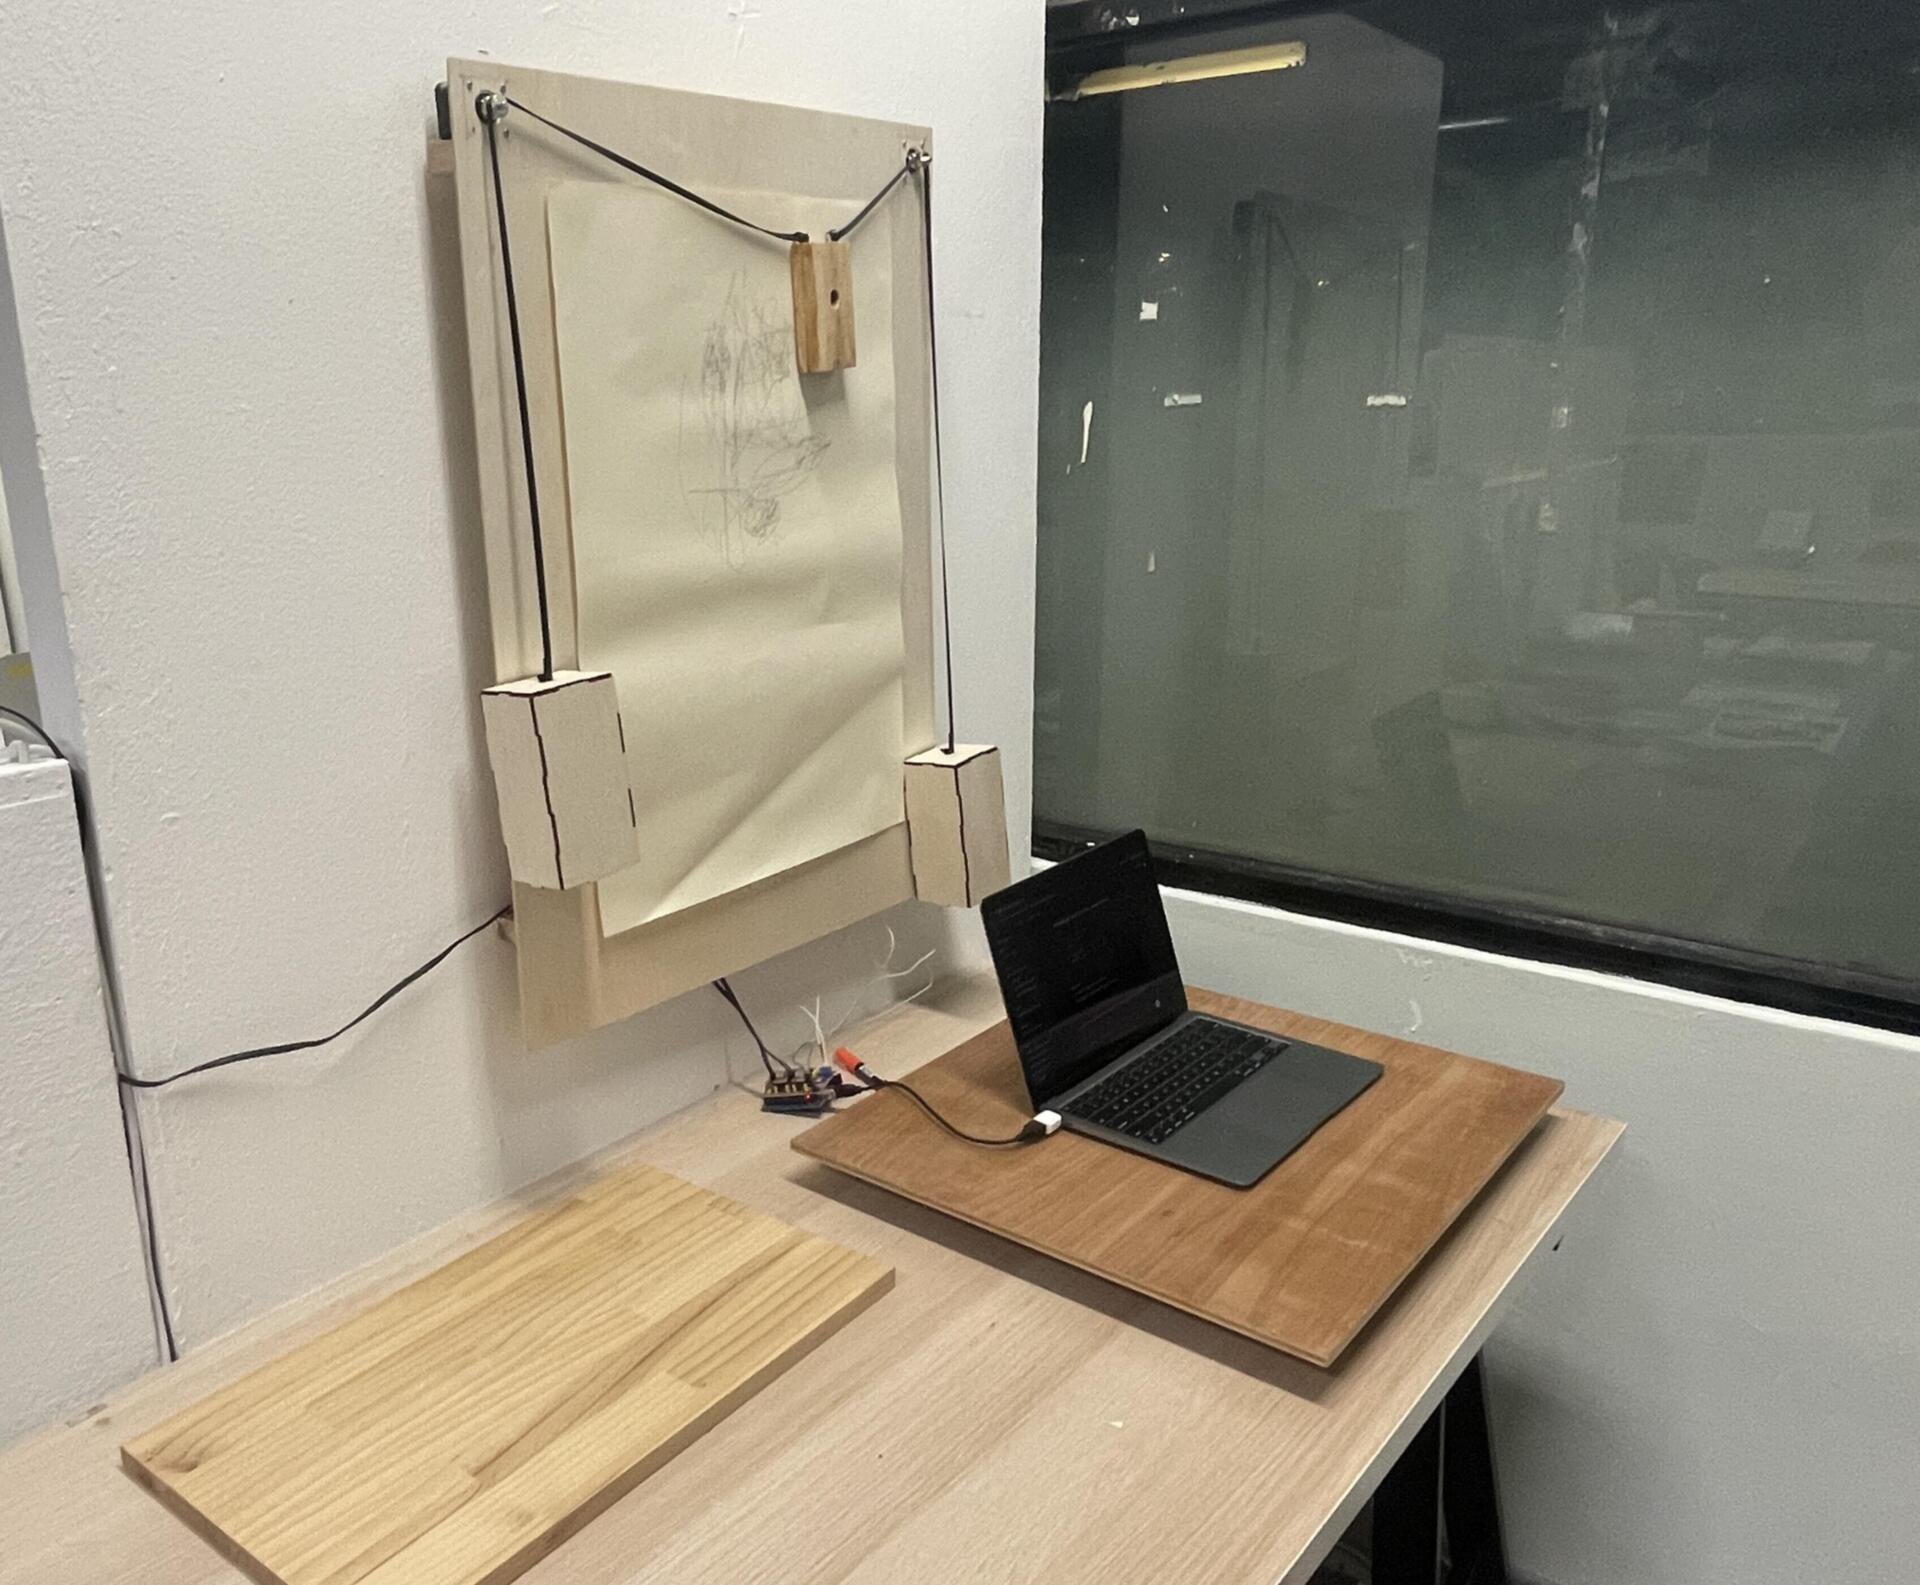
One of the trickier parts was figuring out how to display the plotter. I didn't want it just lying flat on the desk or lean it against the wall —I wanted it to be more visible and treated like an active exhibit. So, with some helpfrom my friend ikshu from product design , I drilled two small wooden ledges onto the partition wall behind my desk. This way, I could mount the plotter vertically, almost like a drawing machine suspended on the wall. It made the whole interaction much more visible and immediate, and freed up space below for visitors to move around. Setting all this up definitely took longer than I expected—between sourcing materials, measuring, drilling, and cleaning up—but seeing the space transform from a cluttered desk into a mini-exhibition booth made it feel real. It was finally starting to look like a complete, cohesive project rather than a bunch of scattered experiments.