Mouse to Plotter
This week, I focused on establishing a serial connection between p5.js and the plotter, aiming to control its movement by tracking my mouse pointer and, eventually, my detected hand position. For now, I mapped the coordinates to the mouse and, with the help of ChatGPT, wrote a program that continuously sends this data to the Arduino IDE, which then uses the AccelStepper library to move the motors, belts, and pen accordingly. While this setup allowed for basic movement, I still encountered issues—there were unexpected random movements, and the coordinates didn’t always align as intended. Debugging this misalignment remains a challenge, but refining the data transmission and motor control logic should help resolve it.
During my consultation with Andreas on Tuesday, he pointed out that while my project was technically sound and I had been able to learn and implement things quickly, it still lacked a strong conceptual foundation. He emphasized that for the project to have real value, it should serve a purpose beyond my own interests—whether for a research group, a specific community, or a target audience that could benefit from it. By identifying a problem to solve and a clear user base, the project wouldn’t just be a technical exercise but something with meaningful impact.
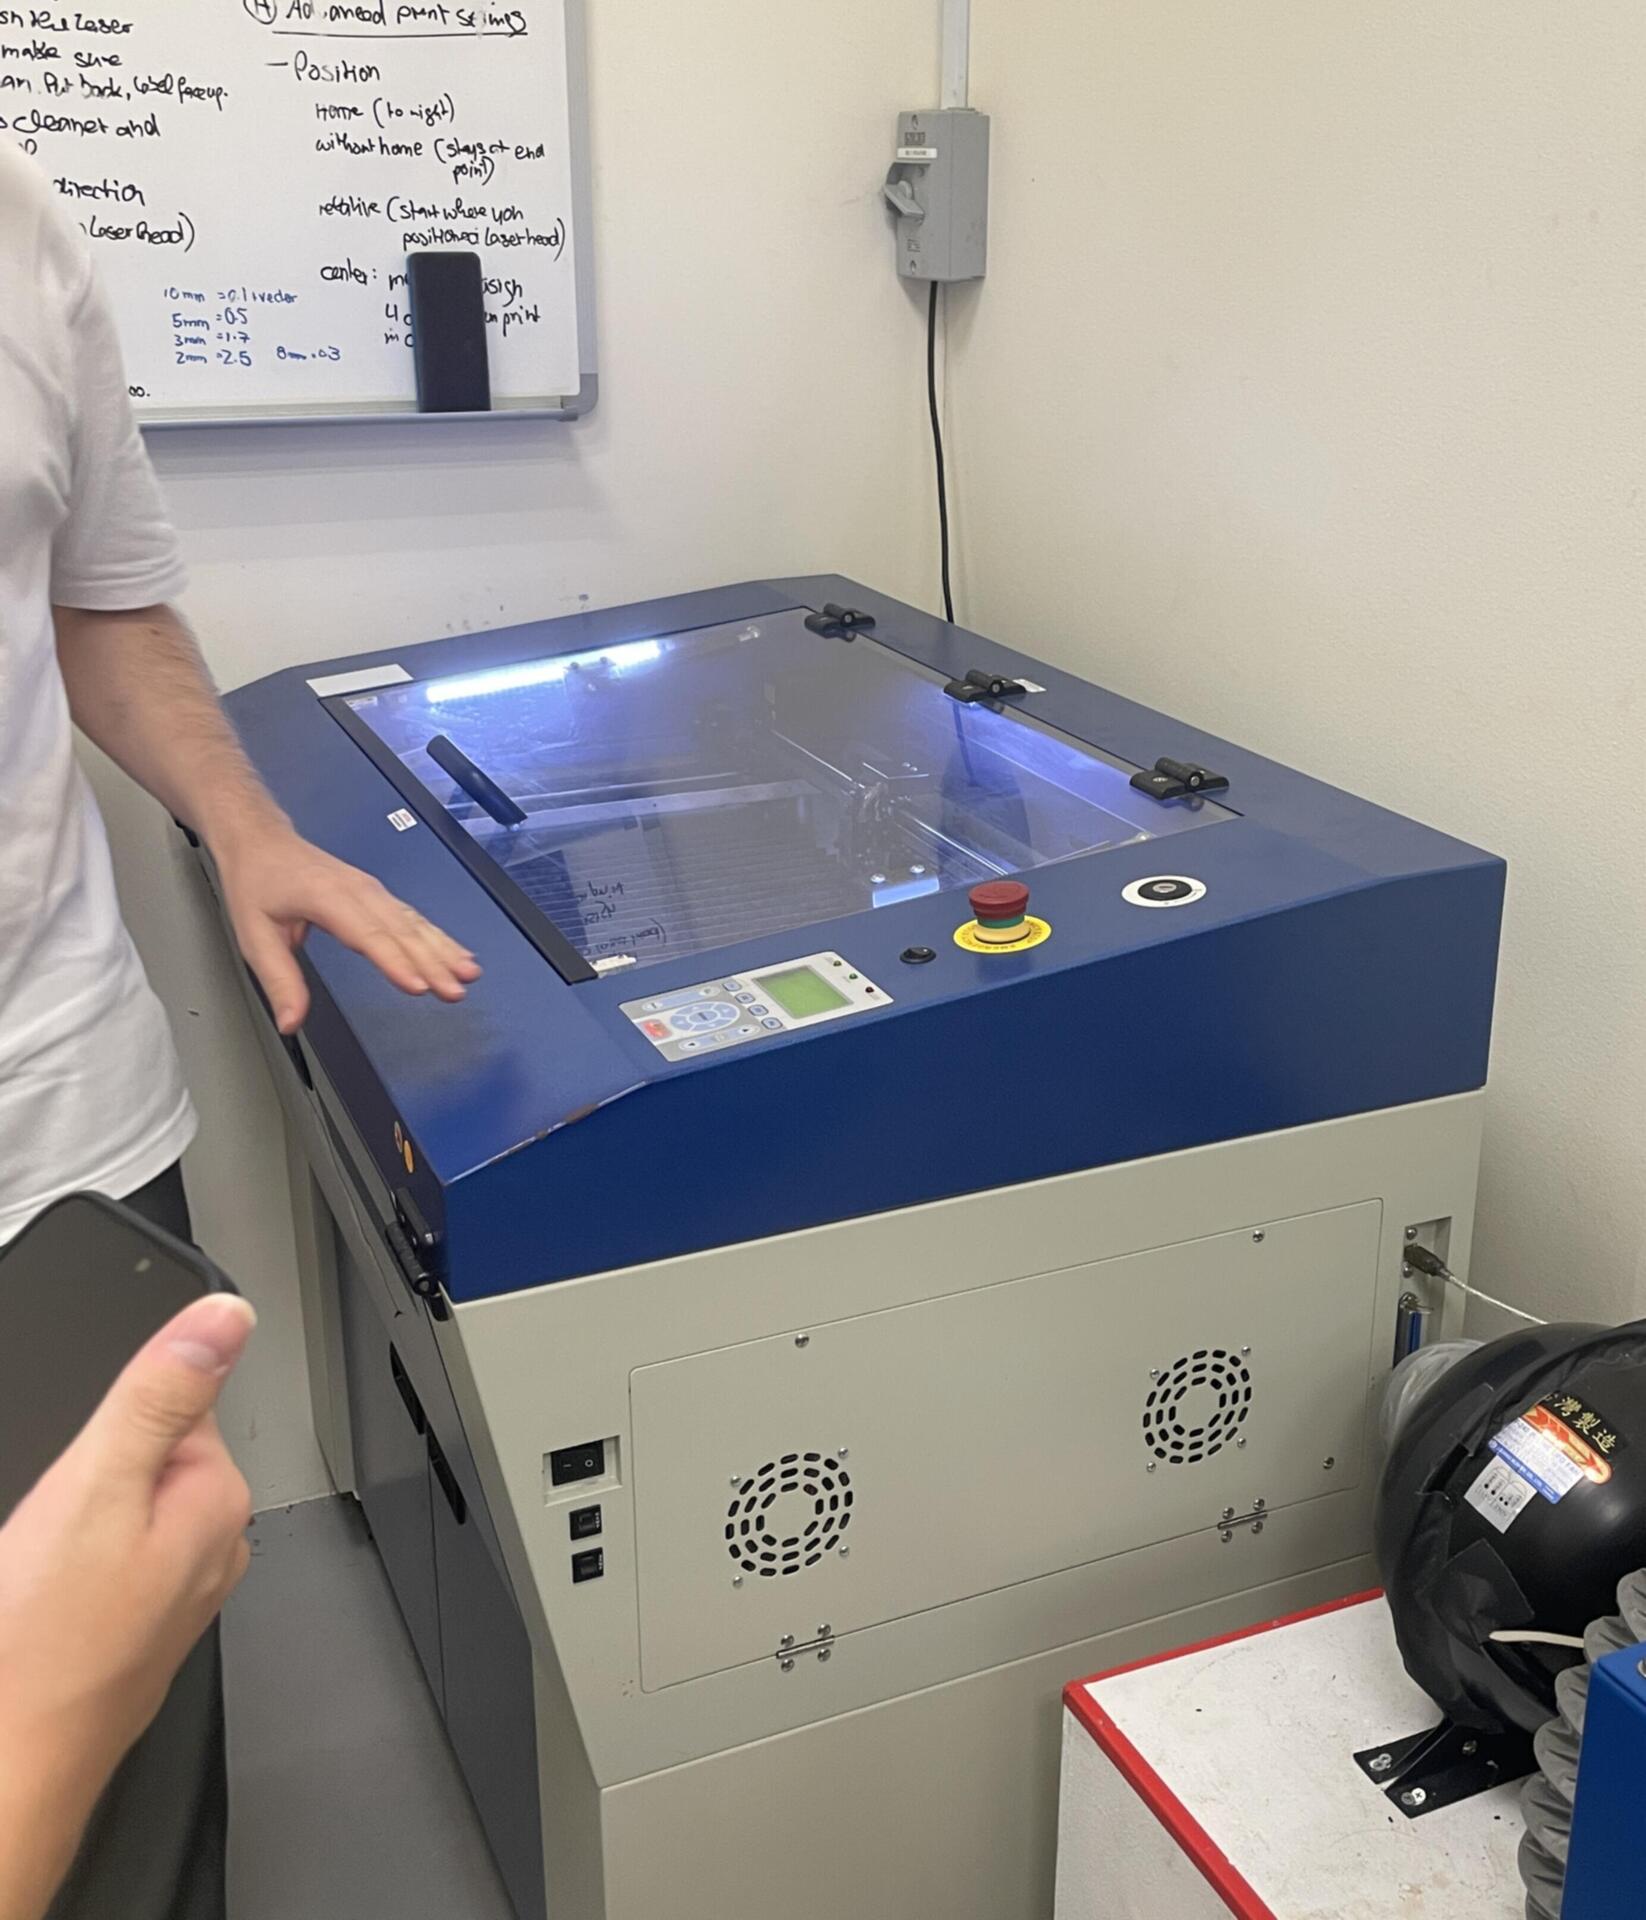
Laser Cutting Induction
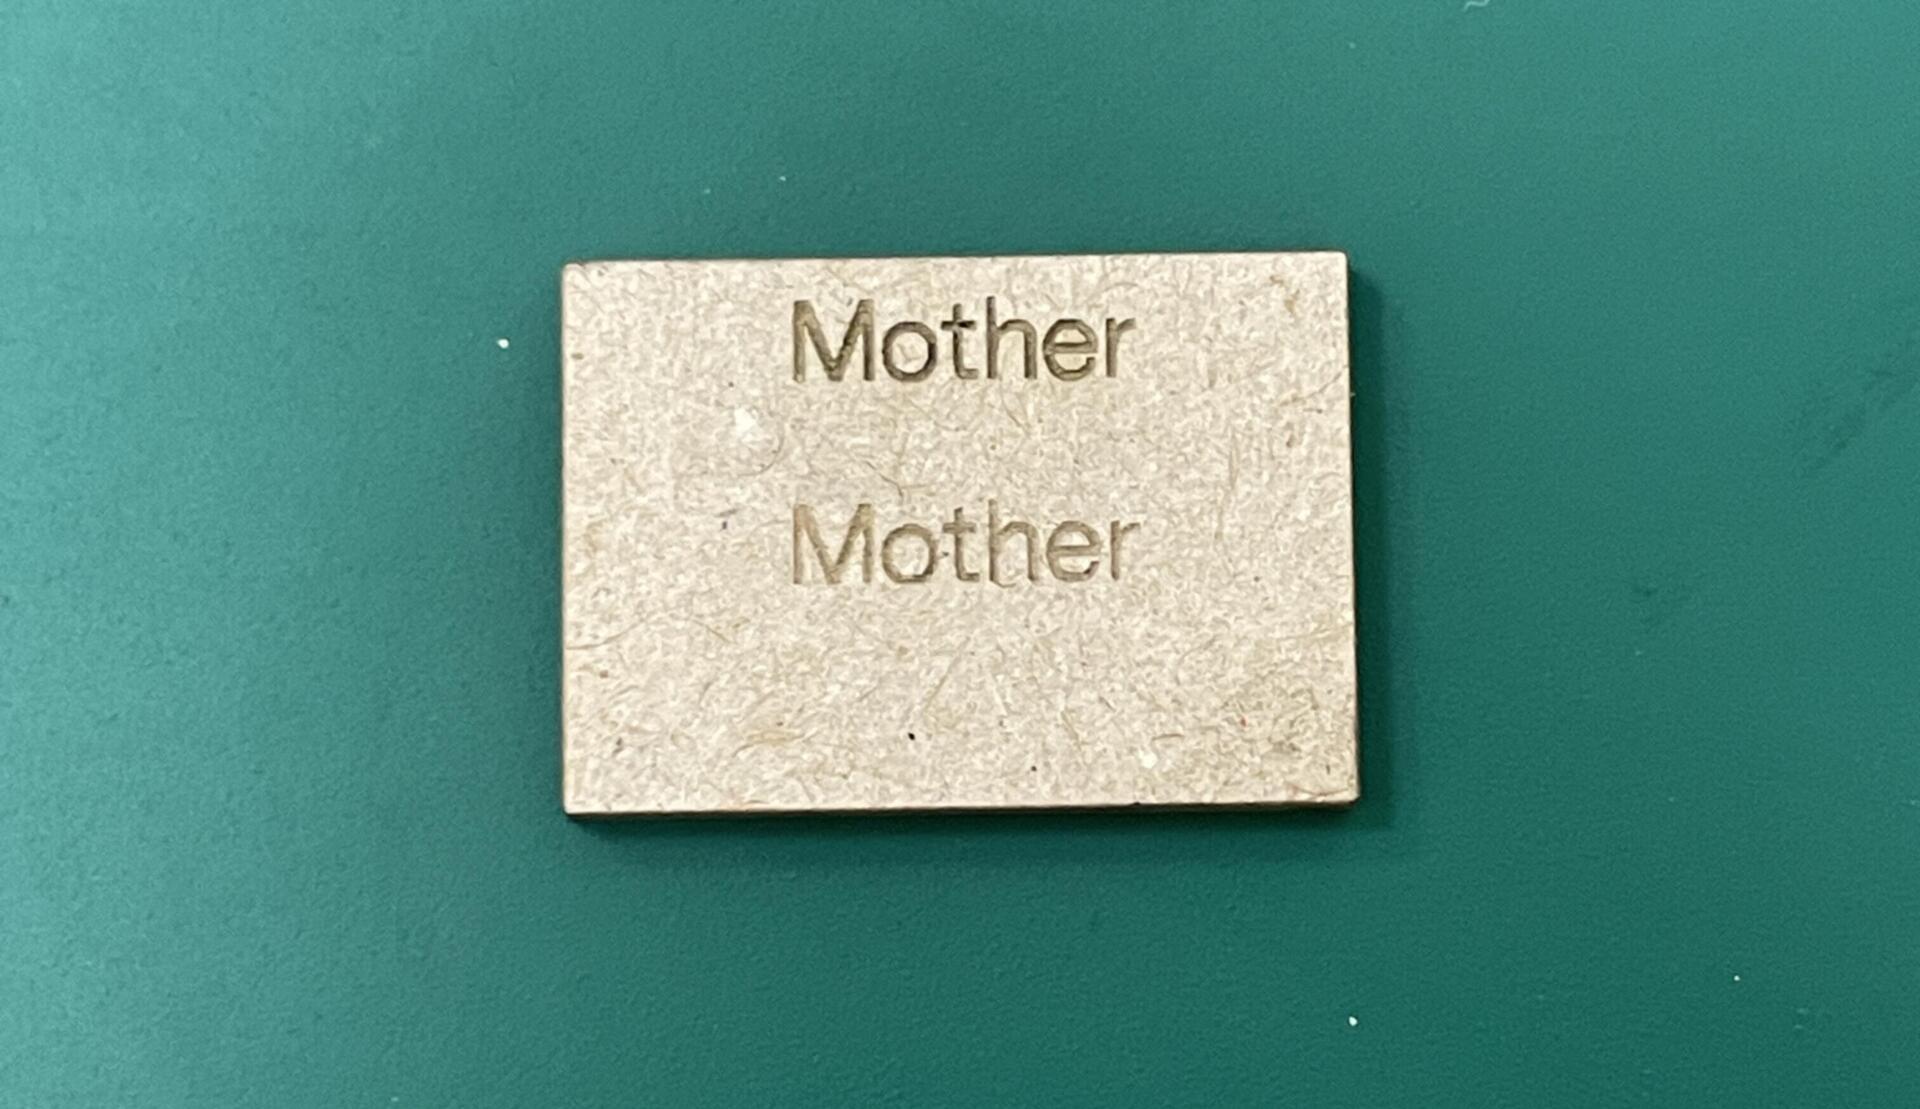
I also attended the laser cutting induction at the CID lab with Zarer and Vanshika. Although I’m not entirely sure how I’ll incorporate laser cutting into my project at this stage, I decided to attend because it’s something I’ve wanted to explore for a long time. The idea of precisely cutting out complex parts and assembling them into something functional has always fascinated me, and I figured it might come in handy later. Andreas guided us through the process, starting with an introduction to the laser cutting room in Block E. He explained that the cutter requires an SVG file with outlined graphics in either red or black—red for cutting through the material and black for engraving without cutting. We also learned about speed settings, where slower speeds result in deeper cuts with more burns, while faster speeds create shallower, cleaner cuts.
Alongside the technical details, we received important safety instructions to follow while operating the machine. To get some hands-on experience, each of us took turns cutting a small square from a spare piece of acrylic, testing out different speeds and settings. It was exciting to see how effortlessly the laser moved across the material, creating precise cuts within seconds. The session gave me a better understanding of how laser cutting could be a valuable tool in prototyping and fabrication, and even though I don’t have an immediate use for it in my project, I’m glad I took the time to learn it. Having access to this technology opens up possibilities for creating intricate and well-fitted components in future builds.